
The ultimate widget for displaying posts, custom post types or sticky posts with an array of options.
Try it out on your free dummy site: Click here => https://tastewp.com/plugins/ultimate-posts-widget.
(this trick works for all plugins in the WP repo – just replace “wordpress” with “tastewp” in the URL)
UPDATE: Plugin ownership changed for this plugin. We are currently evaluating possible enhancements for it. Stay tuned! If you have any suggestions yourself, please let us know in the Support Forum.
Note: This is a classic widget type, in order for it to work on the latest version of WordPress you will need Classic Widgets plugin installed on your site.
The ultimate widget for displaying posts, custom post types or sticky posts with an array of options to customize the display.
Designed for both the average user and developer, Ultimate Posts Widgets aims to provide flexibility and ease of use for displaying any kinds of posts within your widget areas. An array of widget options are available as well as hooks, filters and custom templates for more advanced customization.
Options
- Filter by categories
- Filter by current category
- Filter by tags
- Filter by current tag
- Filter by custom post types
- Filter by sticky posts
- Select number of posts to display
- Display title
- Display publish date/time with custom format options
- Display post author and link
- Display post comment count
- Display excerpt or full content
- Display read more link with custom label
- Display featured image and at any size
- Display post categories
- Display post tags
- Display custom fields
- Add text or HTML before and after posts list
- Add CSS class to widget
- Add widget title link
- Change excerpt length (in words)
- Order by date, title, number of comments, random or a custom field
- Exclude current post from the list
Documentation
See the FAQ tab for documentation on custom templates, hooks, common issues, and more.
Support
For help please ask in the Support Forum
Enjoy this plugin? Send a tip to support development.
This plugin is part of the Inisev product family – check out our other products.
Screenshots
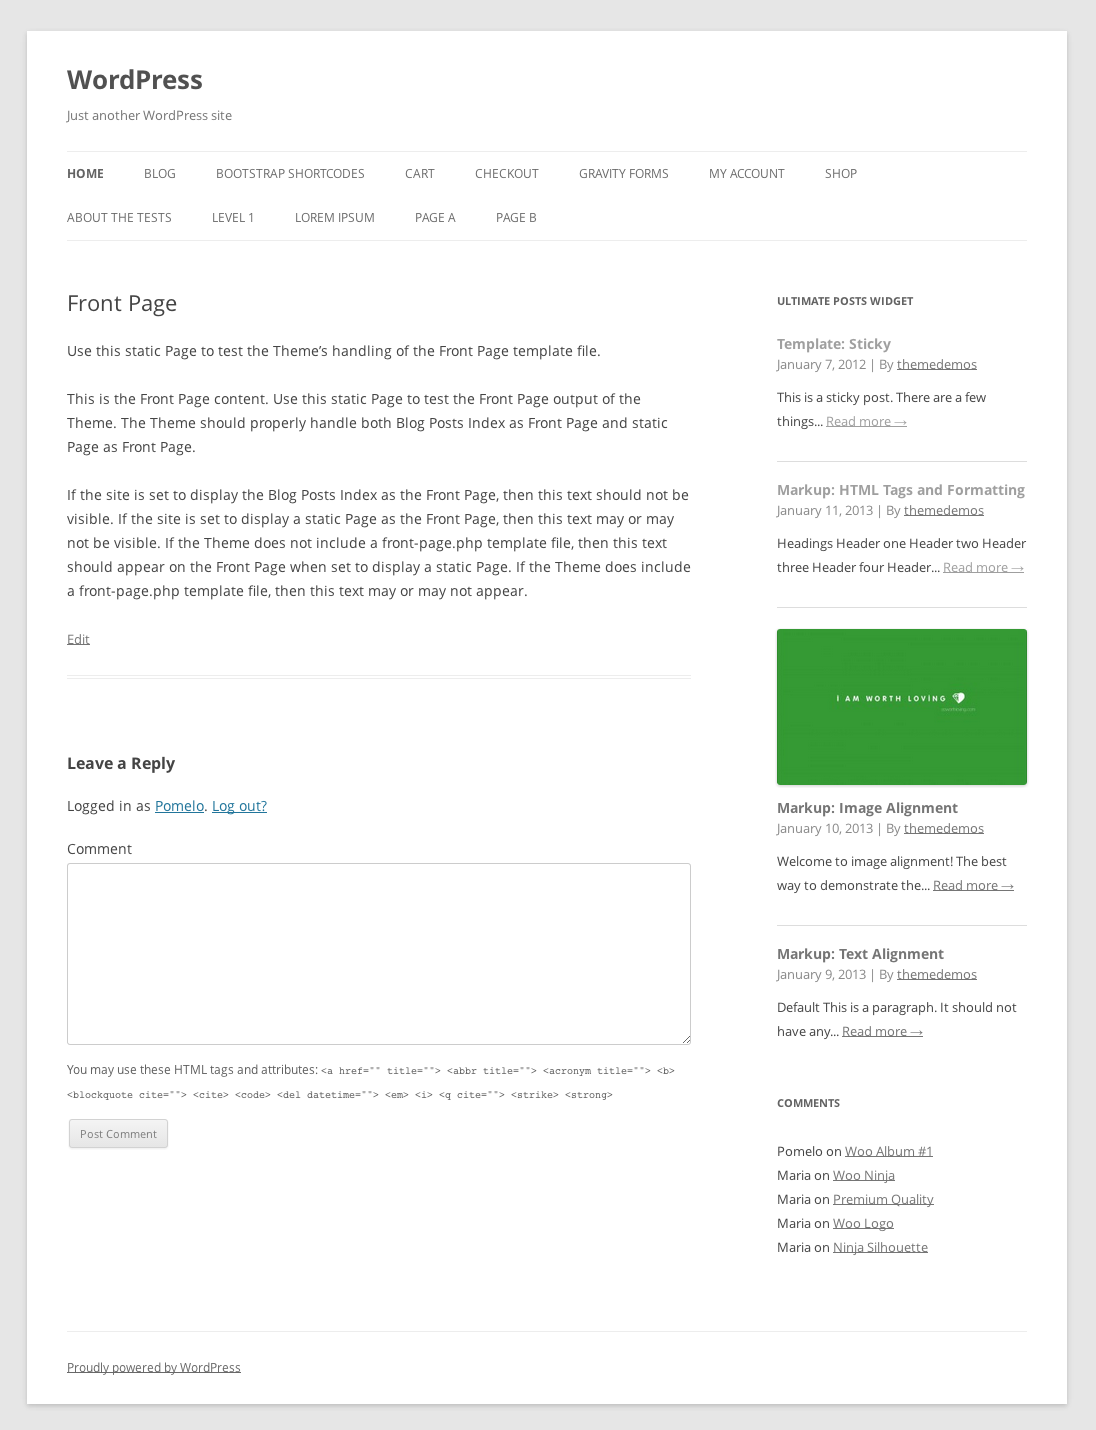
Example with TwentyTwelve theme with the default widget options

General options tab
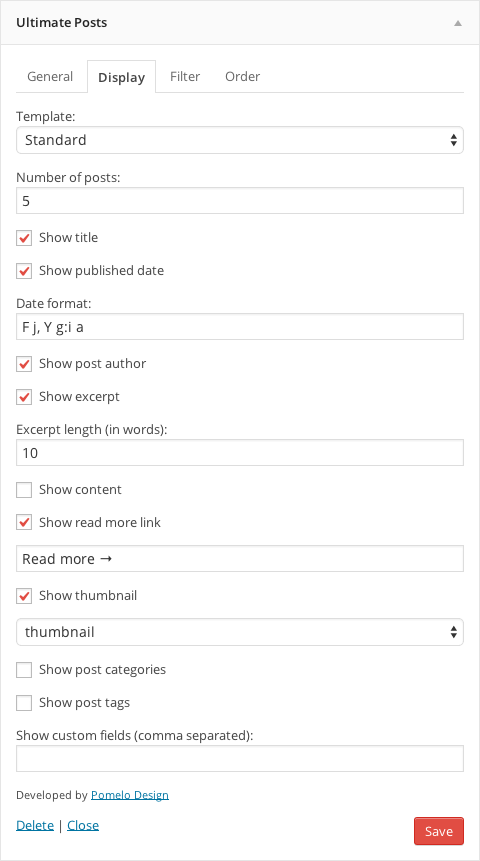
Display options tab
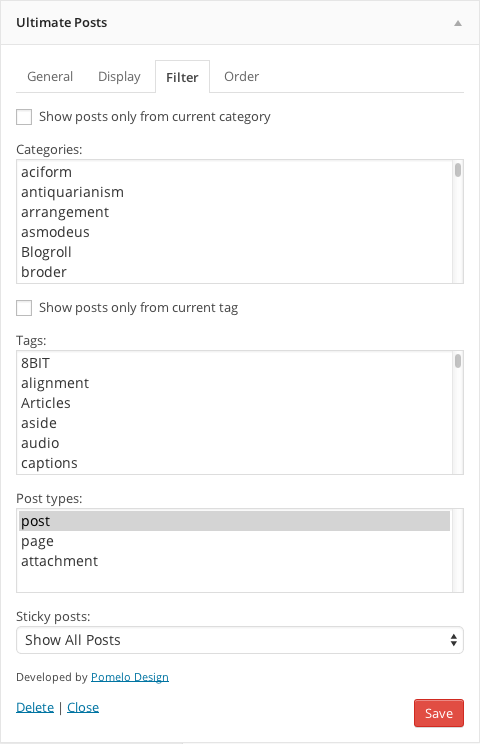
Filter options tab

Order options tab
Filters
upw_enqueue_styles (boolean)
Allows changing whether to load the template CSS file(s).
upw_wp_query_args (array)
Allows changing the WP_Query arguments for the widget.
upw_custom_template_path (string)
Allows changing the default custom template path.
Templates
legacy
As of version 2.0.0 we changed the widget HTML markup. For installs prior to 2.0.0 you can use the legacy template to retain the old HTML markup and compatibility.
standard
The new standard template as of version 2.0.0. It features better HTML5 markup, improved styling on various themes without the need for custom CSS, and hfeed microformat.
custom
As of version 2.0.0 you can now provide your own custom template files. To do this, create a directory named upw in your theme and copy a template from the plugin’s templates directory. Edit as needed.
Then, in the widget settings under the Display tab, choose Custom from the Template drop down. In the Custom Template Name field that appears and enter the file name of your template (excluding .php). For example, if your template is named custom.php then enter custom in the Custom Template Name field.
Images sizes
As of version 2.0.0, the plugin no longer supports setting custom image sizes from the widget options panel.
To change image sizes you can either edit the built-in sizes (thumbnail, medium, and large) or define a custom image size in your theme functions.php.
Edit built-in image sizes: Go to Settings > Media and change the image sizes as desired. Once image sizes are changed you will need to regenerate thumbnails to update any existing images. This can be done with AJAX Thumbnail Rebuild or Regenerate Thumbnails plugins. Note that this will affect image sizes for the entire site.
Define a custom image size: Edit your functions.php file and add a new image size with the add_image_size function. See the WordPress codex for documentation. Once the function is added, your custom size will be available to select from the widget options. Like editing a built-in size, you will need to regenerate thumbnails for existing images.
Example:
<?php add_image_size( 'my-custom-size', 800, 600, false ); ?>
Thumbnail images are not displaying
As of version 2.0.0 timthumb is no longer used.
This plugin uses the timthumb library to resize post thumbnails. Please review these requirements and troubleshooting tips if you are having problems displaying thumbnails.
- Right click > view image – If an image isn’t loading then this is the first thing you should do. 9 times out of 10 it will tell you what the problem is in an easy to read error message.
- JetPack plugin – There is a known conflict between JetPack’s “Photon” component, please disable it for compatibility with timthumb.
- Server requirements – PHP and the GD image library must be installed on your web server. Normally most web servers include them by default.
- Cache permissions – The cache directory
wp-content/plugins/ultimate-posts-widget/cache should be set to 777 or if that doesn’t work, you may find 755 is ok.
- Image sizes – timthumb is configured to only work for images smaller than 1500 x 1500. The plugin and automatically selects the “Large” size from Settings > Media, if it is greater than 1500 x 1500 you will need to reduce the size or modify the configuration in
thumb.php to support larger image sizes.
- Tilde(~) in url – timthumb has a known issue with this, please use a url without a tilde until a fix is available. Bug report
- Thumbnail images only work with WordPress’ native post thumbnail / featured image. Many theme use a custom image field for thumbnails, these are not supported.
Still stuck? See additional troubleshooting tips from the timthumb author.
ChangeLog
