
Paywall your posts with a micropayments paywall.
| Author: | ronantrelis (profile at wordpress.org) |
| WordPress version required: | 6.1 |
| WordPress version tested: | 6.3.1 |
| Plugin version: | 4.0.2 |
| Added to WordPress repository: | 16-08-2023 |
| Last updated: | 03-10-2023 |
| Rating, %: | 0 |
| Rated by: | 0 |
| Plugin URI: | https://wordpress.org/plugins/micropayments-p... |
| Total downloads: | 571 |
 Click to start download |
|
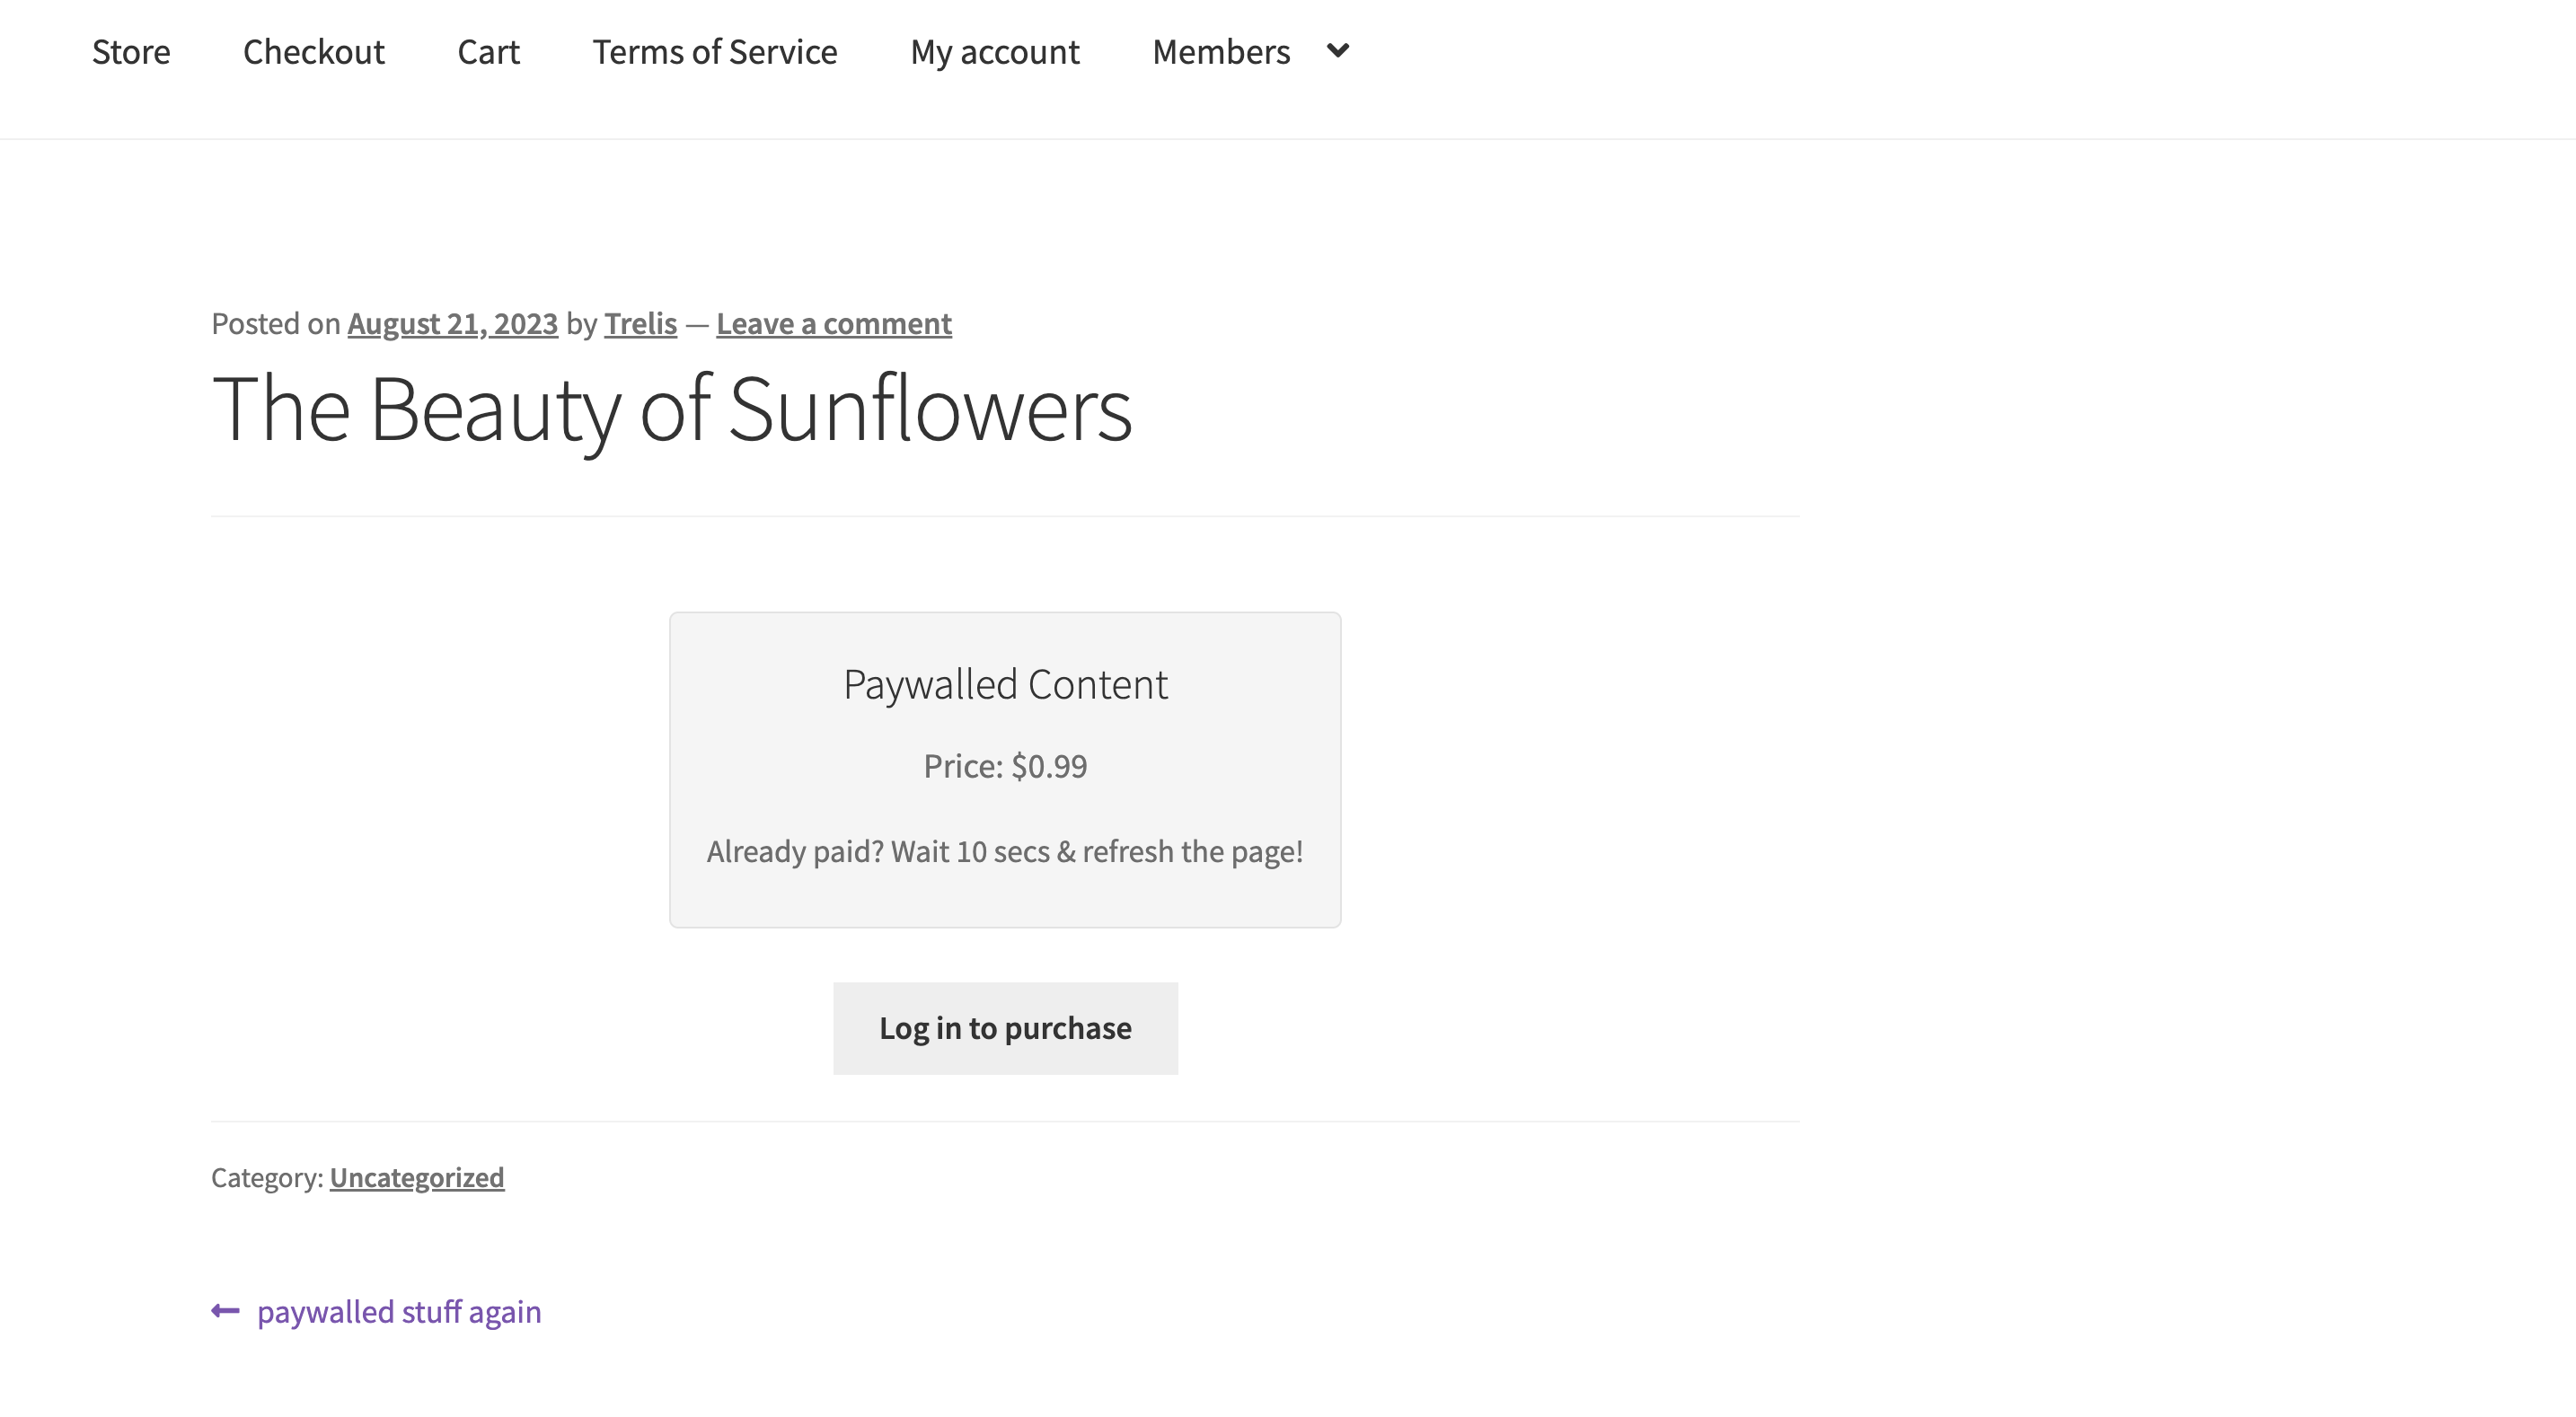
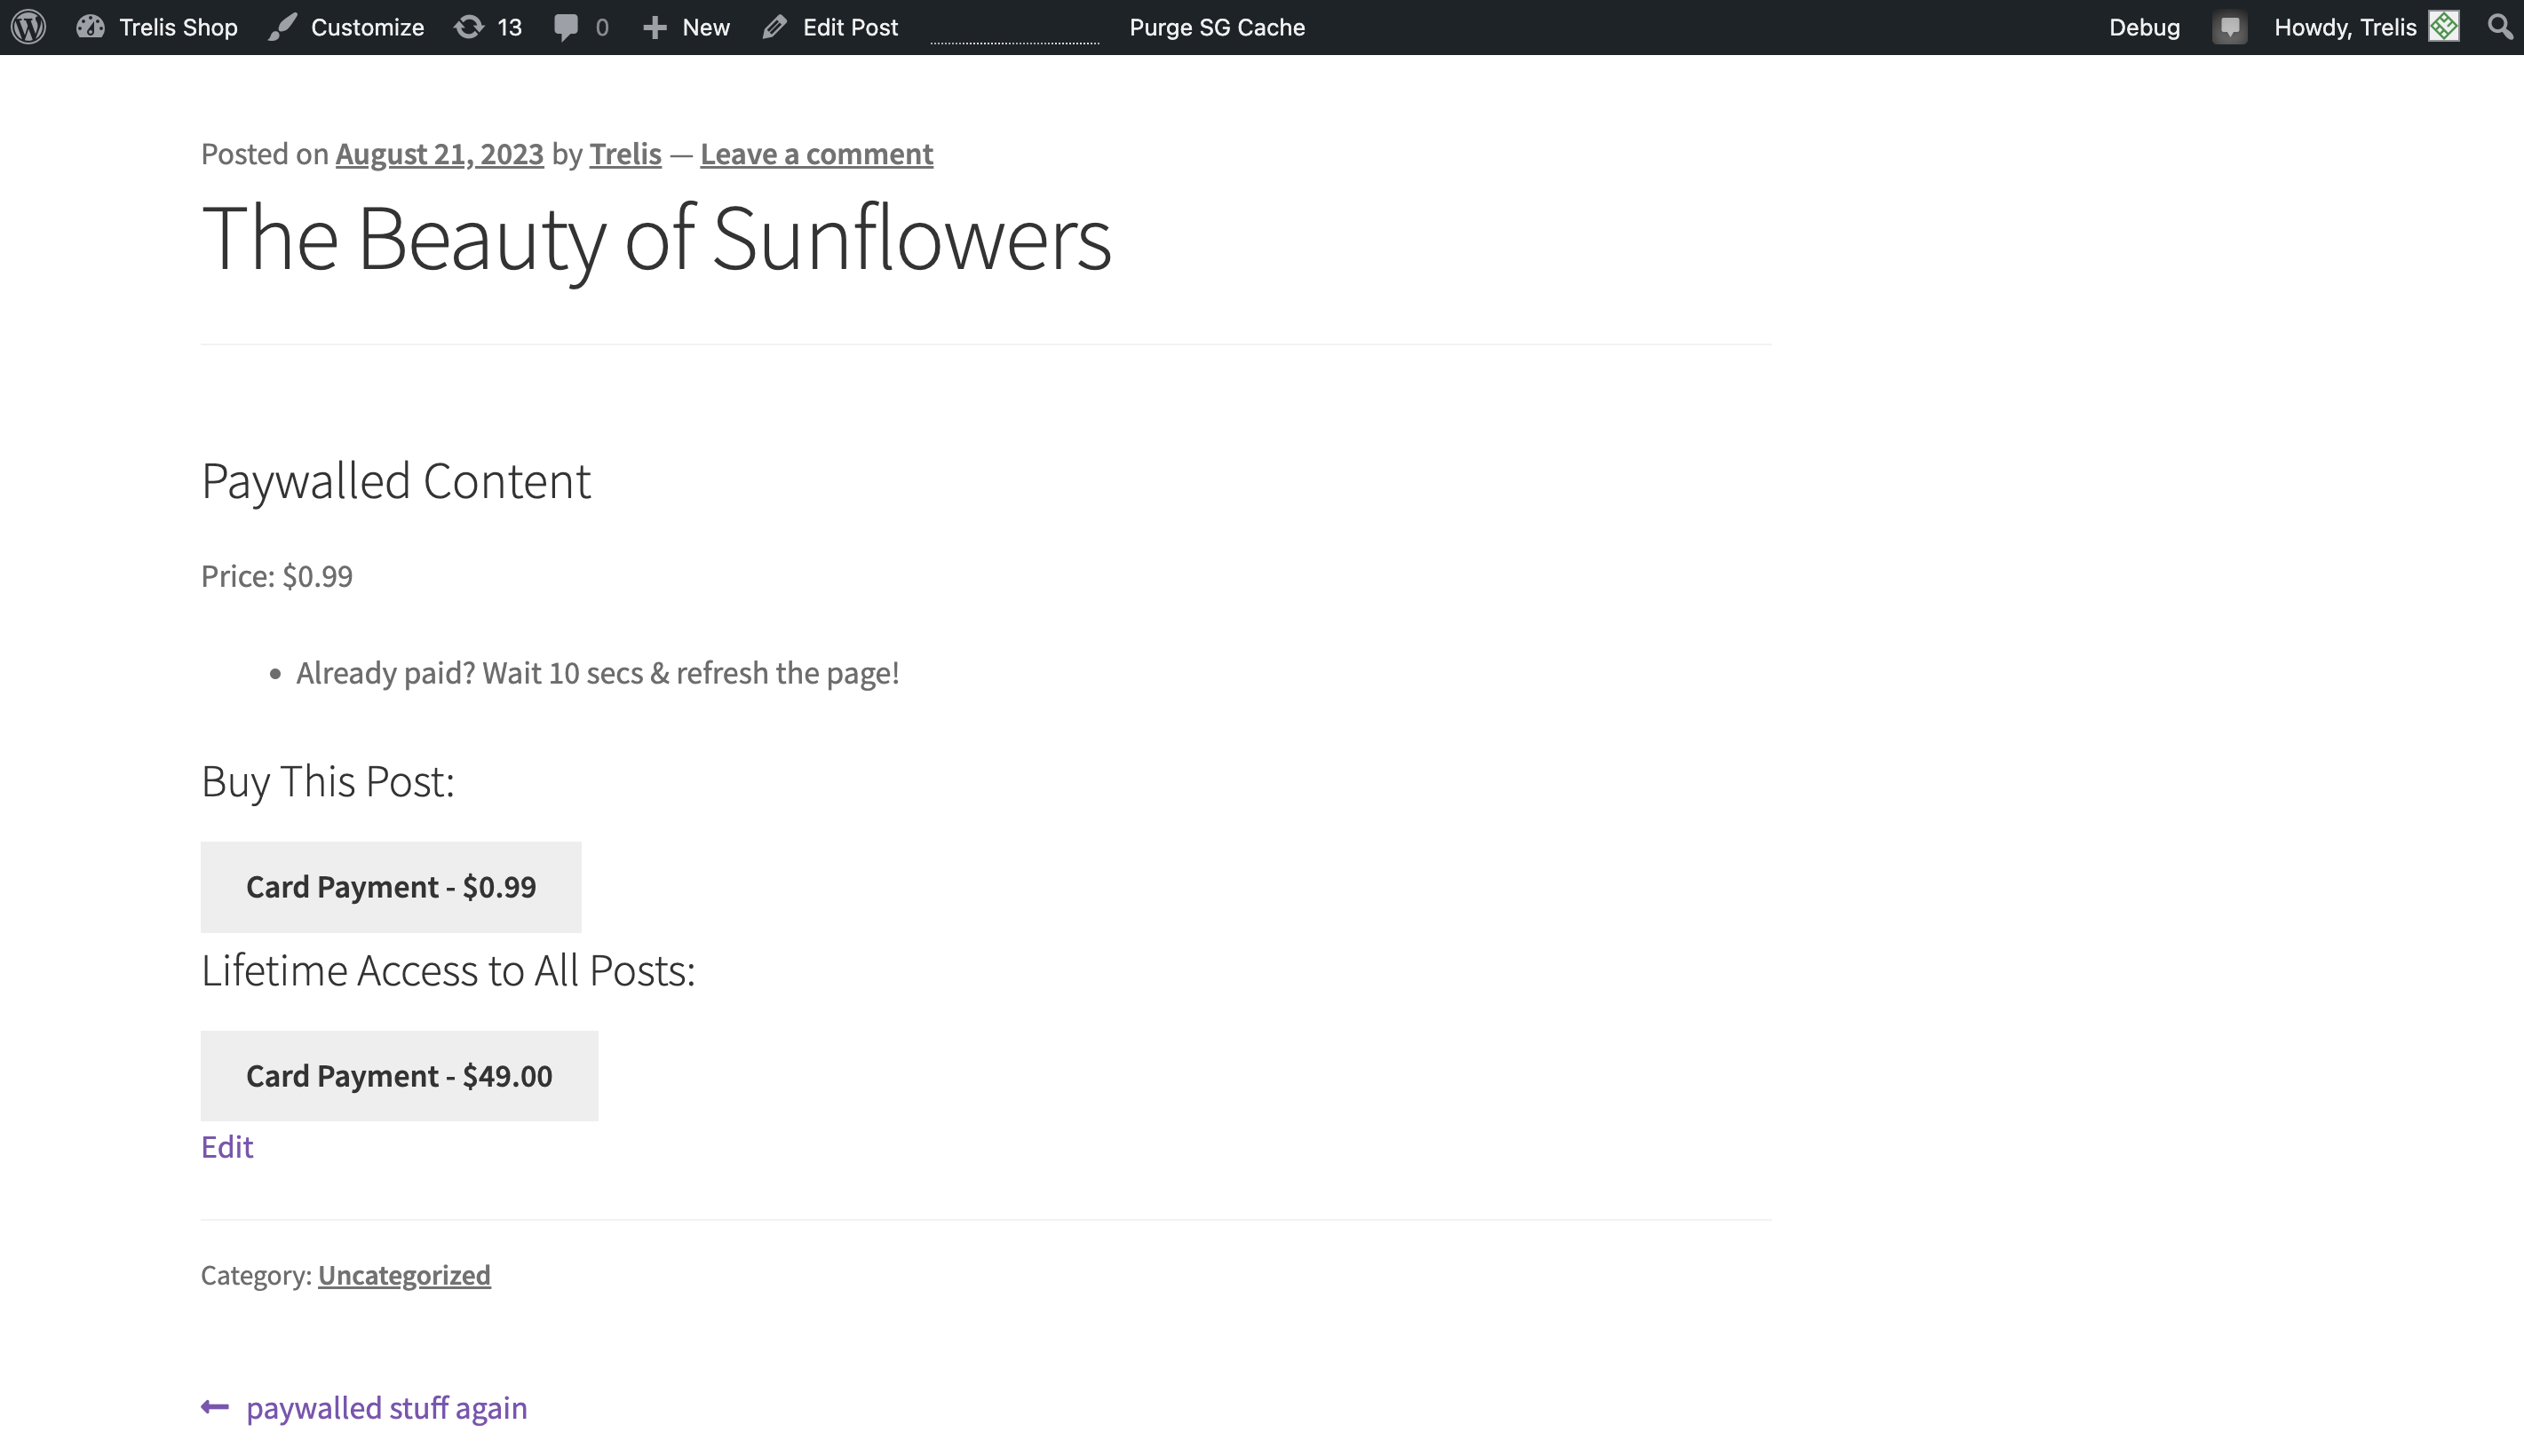
Micropayments Paywall allows you to monetize your content by setting up a paywall. Users pay to access individual posts or pay for a lifetime membership (Premium Plugin only), allowing you to generate revenue directly from your website.
Getting Started
- Install the Micropayments Paywall plugin.
- Activate the plugin.
- Go to your WordPress dashboard and click on ‘Paywall’ on the left hand menu.
- Configure the Stripe payment gateway.
- From “Posts” on the left hand menu, create or edit a post. Enable the paywall by checking the “Enable Paywall” box.
- Set the price for the post in the “Product Price” field.
- Publish or Save the post.
- That’s it! Your post will now be paywalled.
Configuring Stripe Payment Gateway
If you have a Stripe account, you can allow customers to pay you via card by purchasing the Premium plugin.
Stripe fees typically include a flat fee (often 30c) plus a fixed percentage over 2.5%. In certain cases, you can request micropayment fee rates which allow for a lower fixed fee.
!!! Stripe does not allow for payments below 0.5 Euro. For this reason, if you enable the Stripe payment gateway, the minimum you can charge for a post is $0.75.
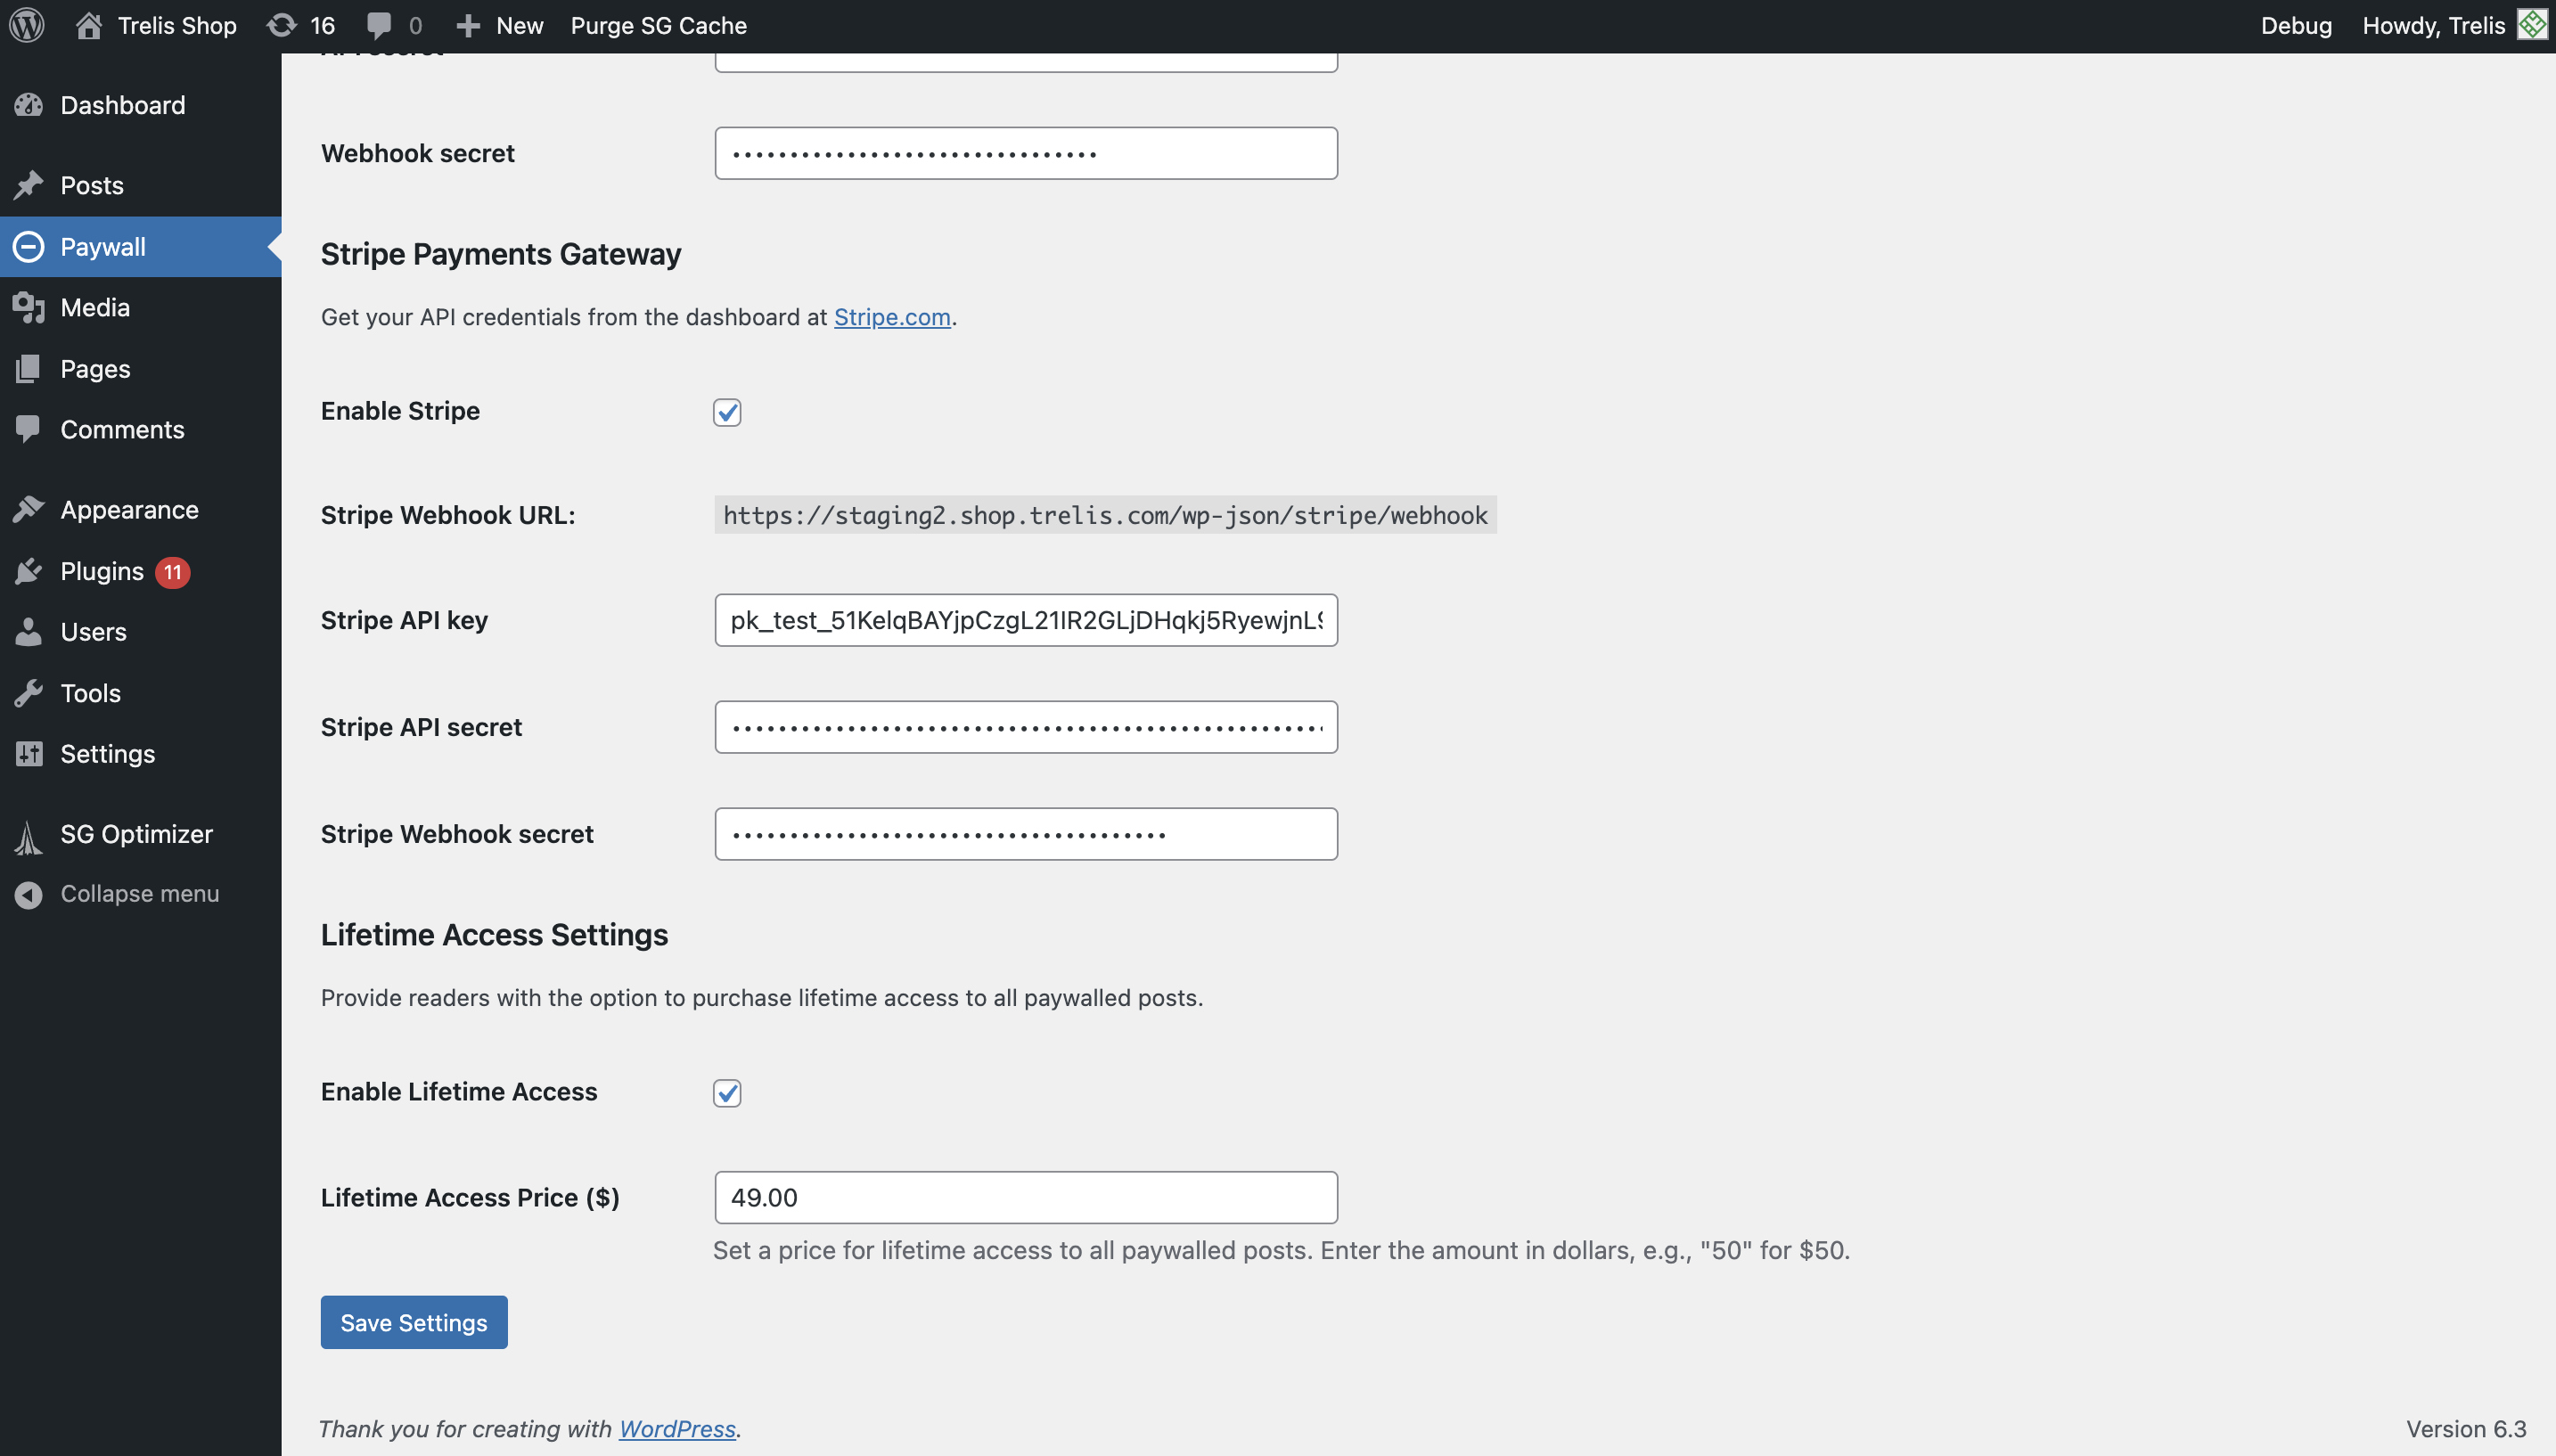
To configure Stripe within Micropayments Paywall Settings (accessible via “Paywall” on your WordPress dashboard):
- Copy the Stripe Webhook URL.
- Navigate to Stripe.com and log into your account. This account will receive payments.
- Search for “webhooks” in the developer section of the site and create a new webhook for the Stripe Webhook URL you copied over from WordPress. You can set the webhook to receive all events.
- Again, on your Stripe dashboard, find your api keys in the developer setting. Set up a new key and get the public key and the secret.
- Enter the public key (which is the API key) and the secret (API secret) into Micropayments Paywall Settings (acessible via “Paywall” on your WordPress admin dashboard).
- Press “Save Settings” on WordPress to confirm changes.
Configuring Life-time Access (Premium Plug-in Only)
- Navigate to WordPress -> Settings -> Micropayments Paywall Settings (see ‘Paywall’ on the left menu)
- Scroll down and tick the box to enable Lifetime access to posts
- Set a price
- Save Settings
- Purchase the premium plugin here
Screenshots
FAQ


ChangeLog