
Homepage | Documentation | Support | Demo | Premium Version
| Author: | GSheetConnector (profile at wordpress.org) |
| WordPress version required: | 5.6 |
| WordPress version tested: | 6.5.2 |
| Plugin version: | 1.2.17 |
| Added to WordPress repository: | 28-08-2021 |
| Last updated: | 27-04-2024 |
| Rating, %: | 74 |
| Rated by: | 3 |
| Plugin URI: | |
| Total downloads: | 16 967 |
| Active installs: | 1 000+ |
 Click to start download |
|
This plugin is a bridge between your WordPress Ninja Forms and Google Sheets.
When a visitor submits his/her data on your website via a Ninja Forms, upon form submission, such data are also sent to Google Sheets.
Documentation | Support | Demo |
Premium Version
Get rid of making mistakes while adding the sheet settings or adding the headers including Merge Tags to the sheet column. We would be Launching soon the Ninja Forms Google Sheet Connector Pro version with more automated features.
Still haven’t purchased ? Ninja Forms Google Spreadsheet Addon
Check Live Demo
Demo URL: https://ninjagsheets.gsheetconnector.com/
Google Sheet URL to Check submitted Data
https://docs.google.com/spreadsheets/d/1ooBdX0cgtk155ww9MmdMTw8kDavIy5J1m76VwSrcTSs/edit#gid=1289172471
How to Use this Plugin
-
Step: 1 – In Google Sheets
➜ Log into your Google Sheets.
➜ Create a new Sheet and name it or select the existing sheet.
➜ Copy Sheet Name, Sheet ID, Tab Name and Tab ID (Refer Screenshots) -
Step: 2 – In WordPress Admin
➜ Navigate to Ninja Forms > Google Sheet > Integration Tab
➜ Authenticate with Google using new “Google Access Code” while clicking on “Get Code”
➜ Make Sure to ALLOW Google Permissions for Google Drive and Google Sheets and then copy the code and paste in Google Access Code field, and Hit Save & Authenticate.
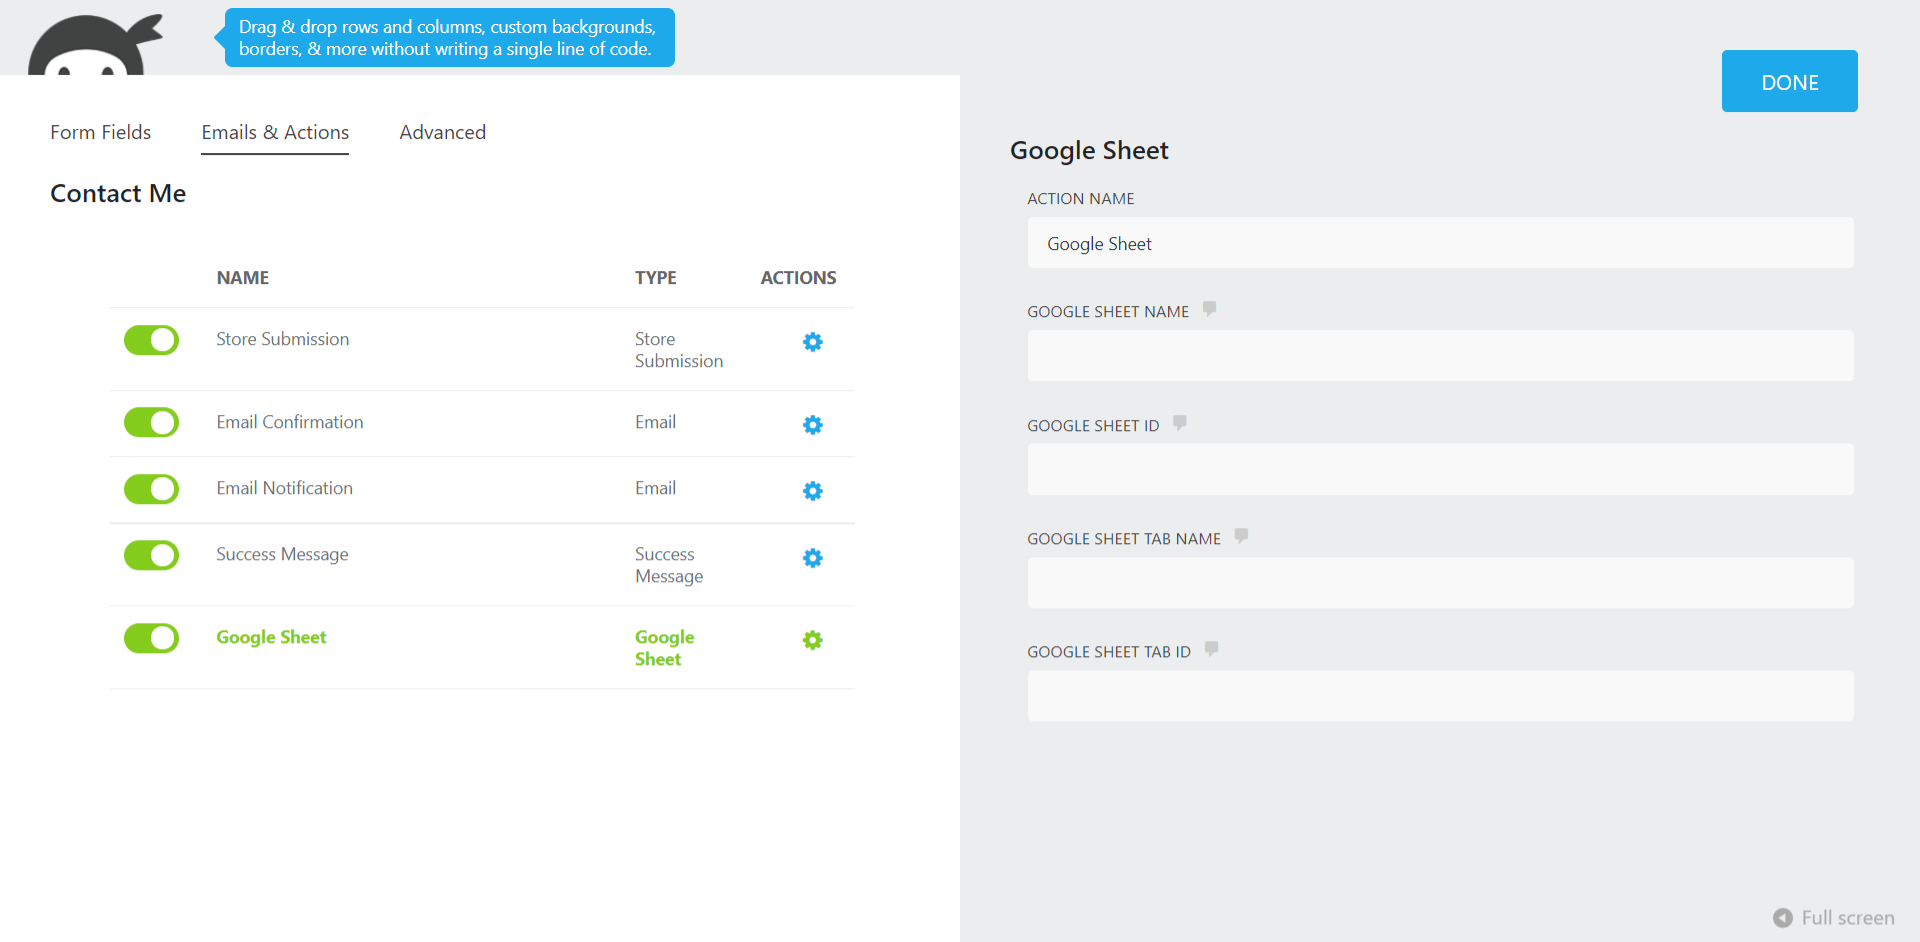
➜ Now Navigate to appropriate Ninja Forms > Edit Forms > Email & Actions and then Click on + icon to add Google Sheet Action and Enter Sheet Name, Sheet ID, Tab Name and Tab ID and Save and Publish. -
Step: 3 – Arranging Columns in Sheet
➜ In the selected Google sheet, enter column names in first row (as a header) as per the Label, Copy and Paste the form field label from the Ninja Forms to Google Sheet (e.g. “Name”, “Email”, “Comment or Message”, “date” etc).
➜ Lastly Test your Ninja Forms and verify that the data shows up in your Google Sheet.
???? Videos to help you get started with Ninja Forms Google Sheets Connector
????Ninja Forms Google Sheet Connector Introduction Video
Important Notes
➜ You must pay very careful attention to your naming. This plugin will have unpredictable results if names and spellings do not match between your Google Sheets and Ninja Forms settings.
Screenshots
FAQ


ChangeLog