Warning! This plugin has not been updated in over 2 years. It may no longer be maintained or supported and may have compatibility issues when used with more recent versions of WordPress.
XQ Secure Forms ensures that every piece of client information is secure, from submission to receipt. Transform your existing forms and collect secure, compliant data emailed straight to you.
Protect and own your customer data. Show your clients you value their privacy.
How It Works
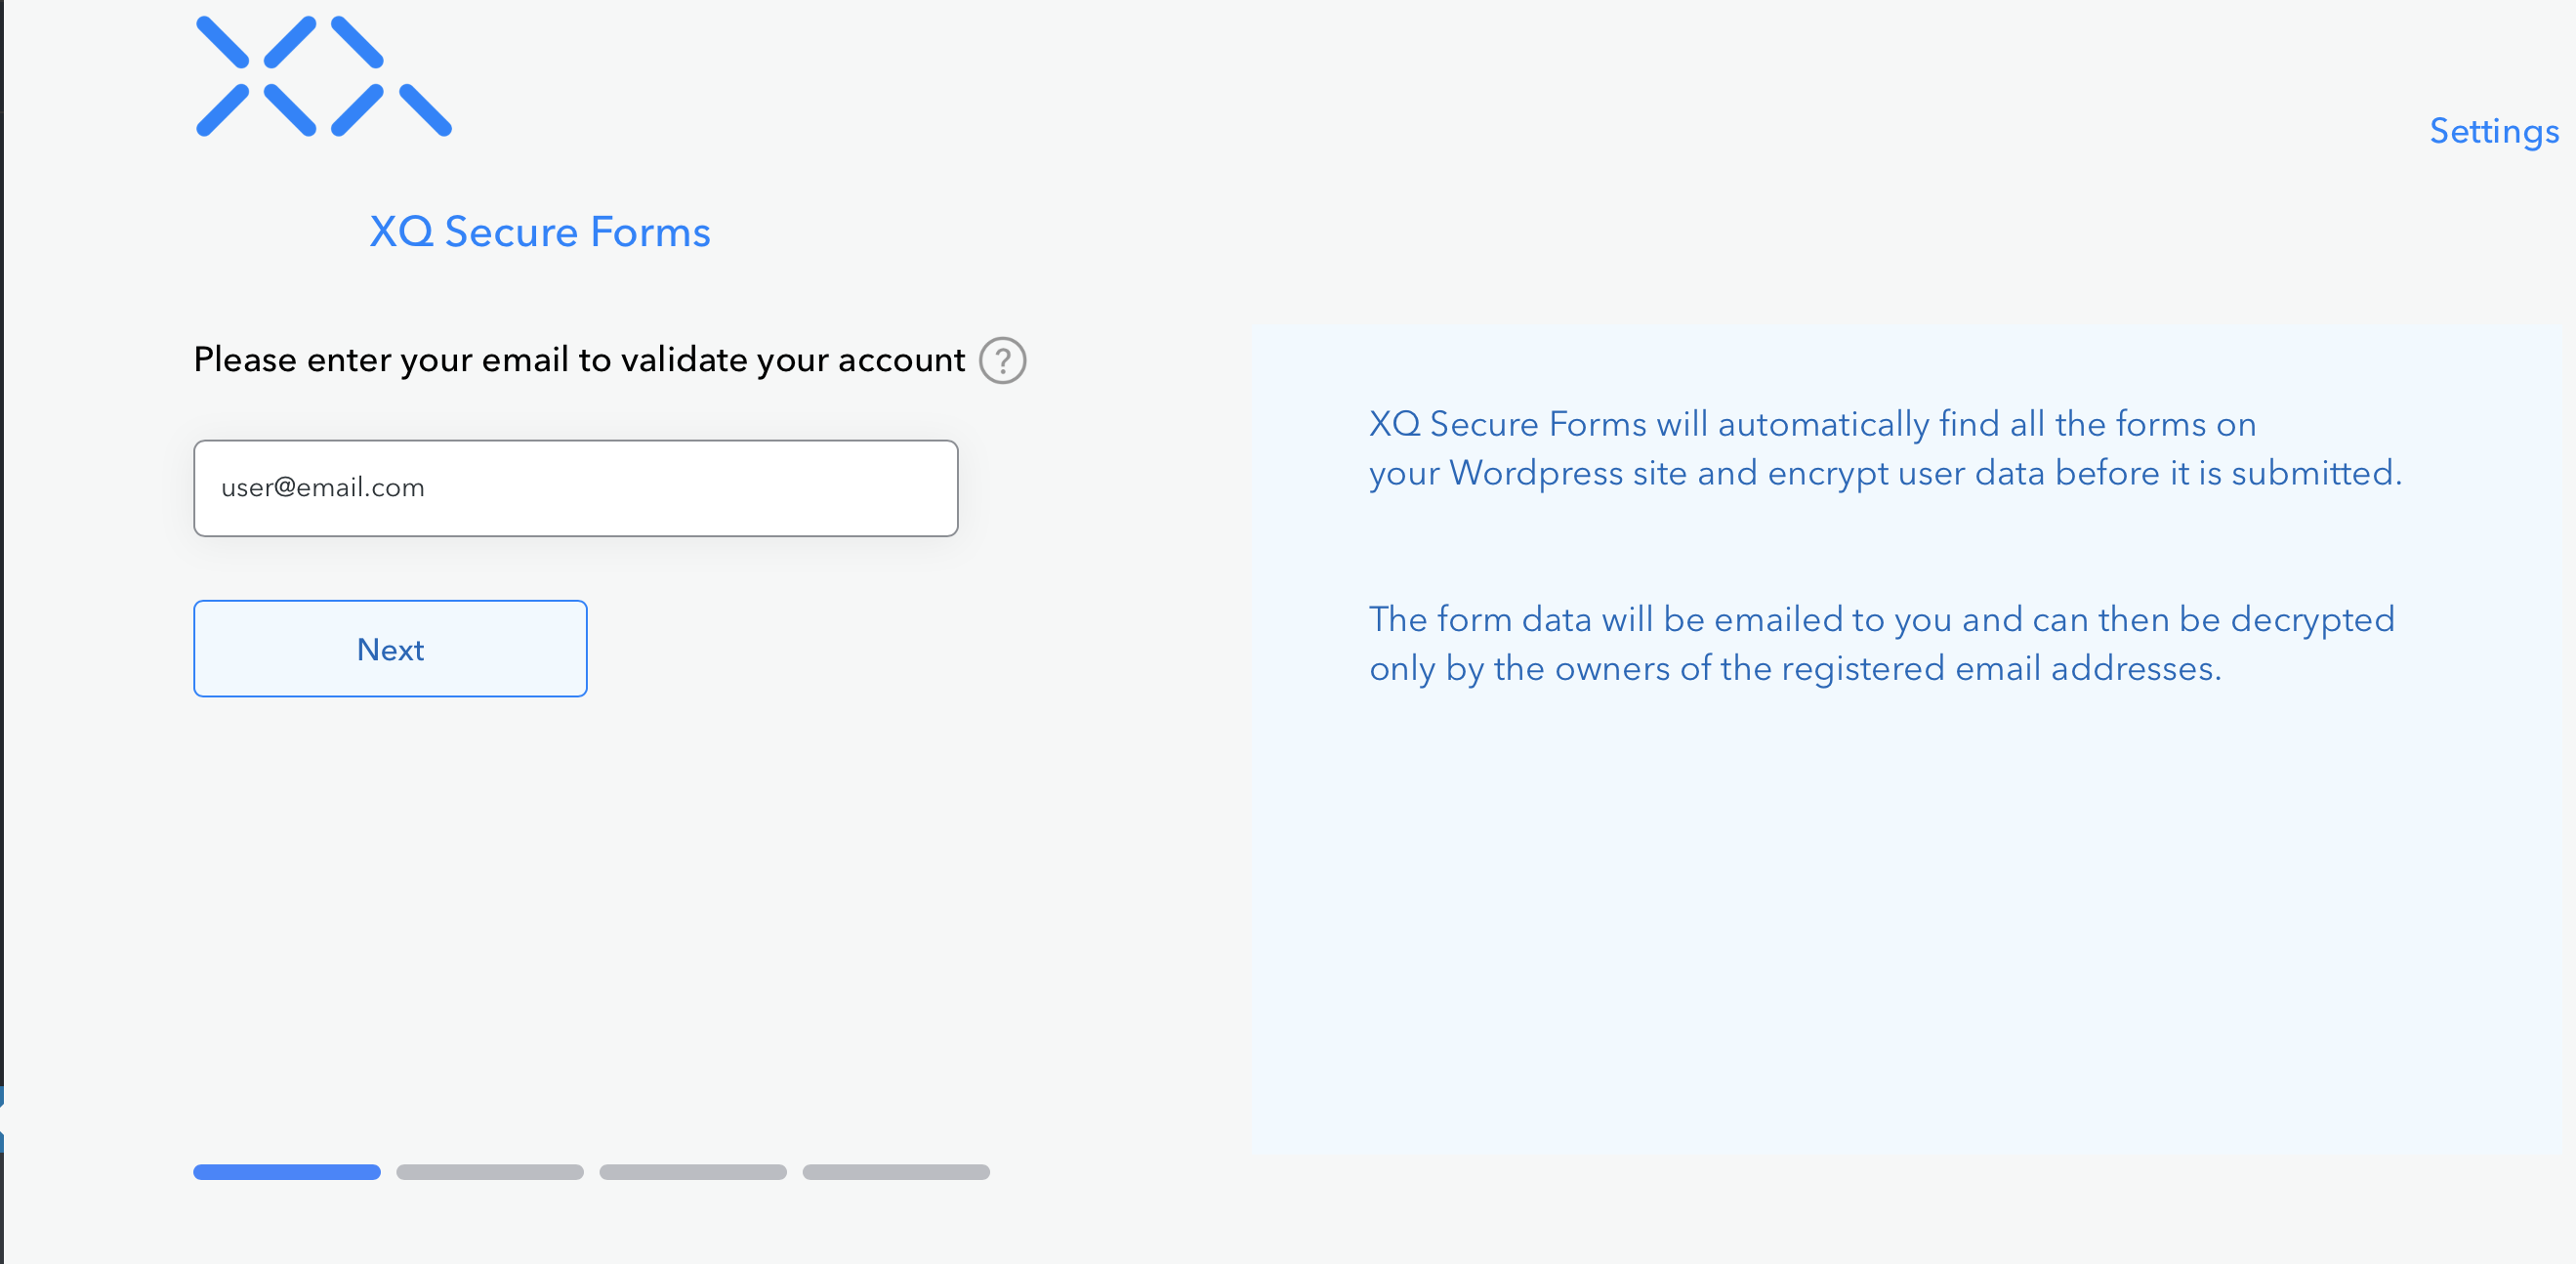
XQ Secure Forms is easy to set up and is the most hassle-free solution to safely in-take client information. XQ Secure Forms works by installing a few lines of code on your website. We’ll walk you through a painless set up.
When a client, a patient, a customer, or a prospect fills out your form, a unique encryption key is generated and the form data on your website is encrypted in the client browser. The encrypted data is then delivered to you and is never stored by XQ.
This is end-to-end encryption.
XQ never stores your data and ensures that only authorized users can decrypt the data of your choice, keeping your client data safe from prying eyes.
Stay Compliant
Client data is always encrypted from your client’s browser, keeping you HIPAA and GDPR compliant.
Tracking
XQ tracking lets you monitor when and where client data is decrypted and ensures that only authorized users have access. We log it all and make it available to you.
It’s Easy
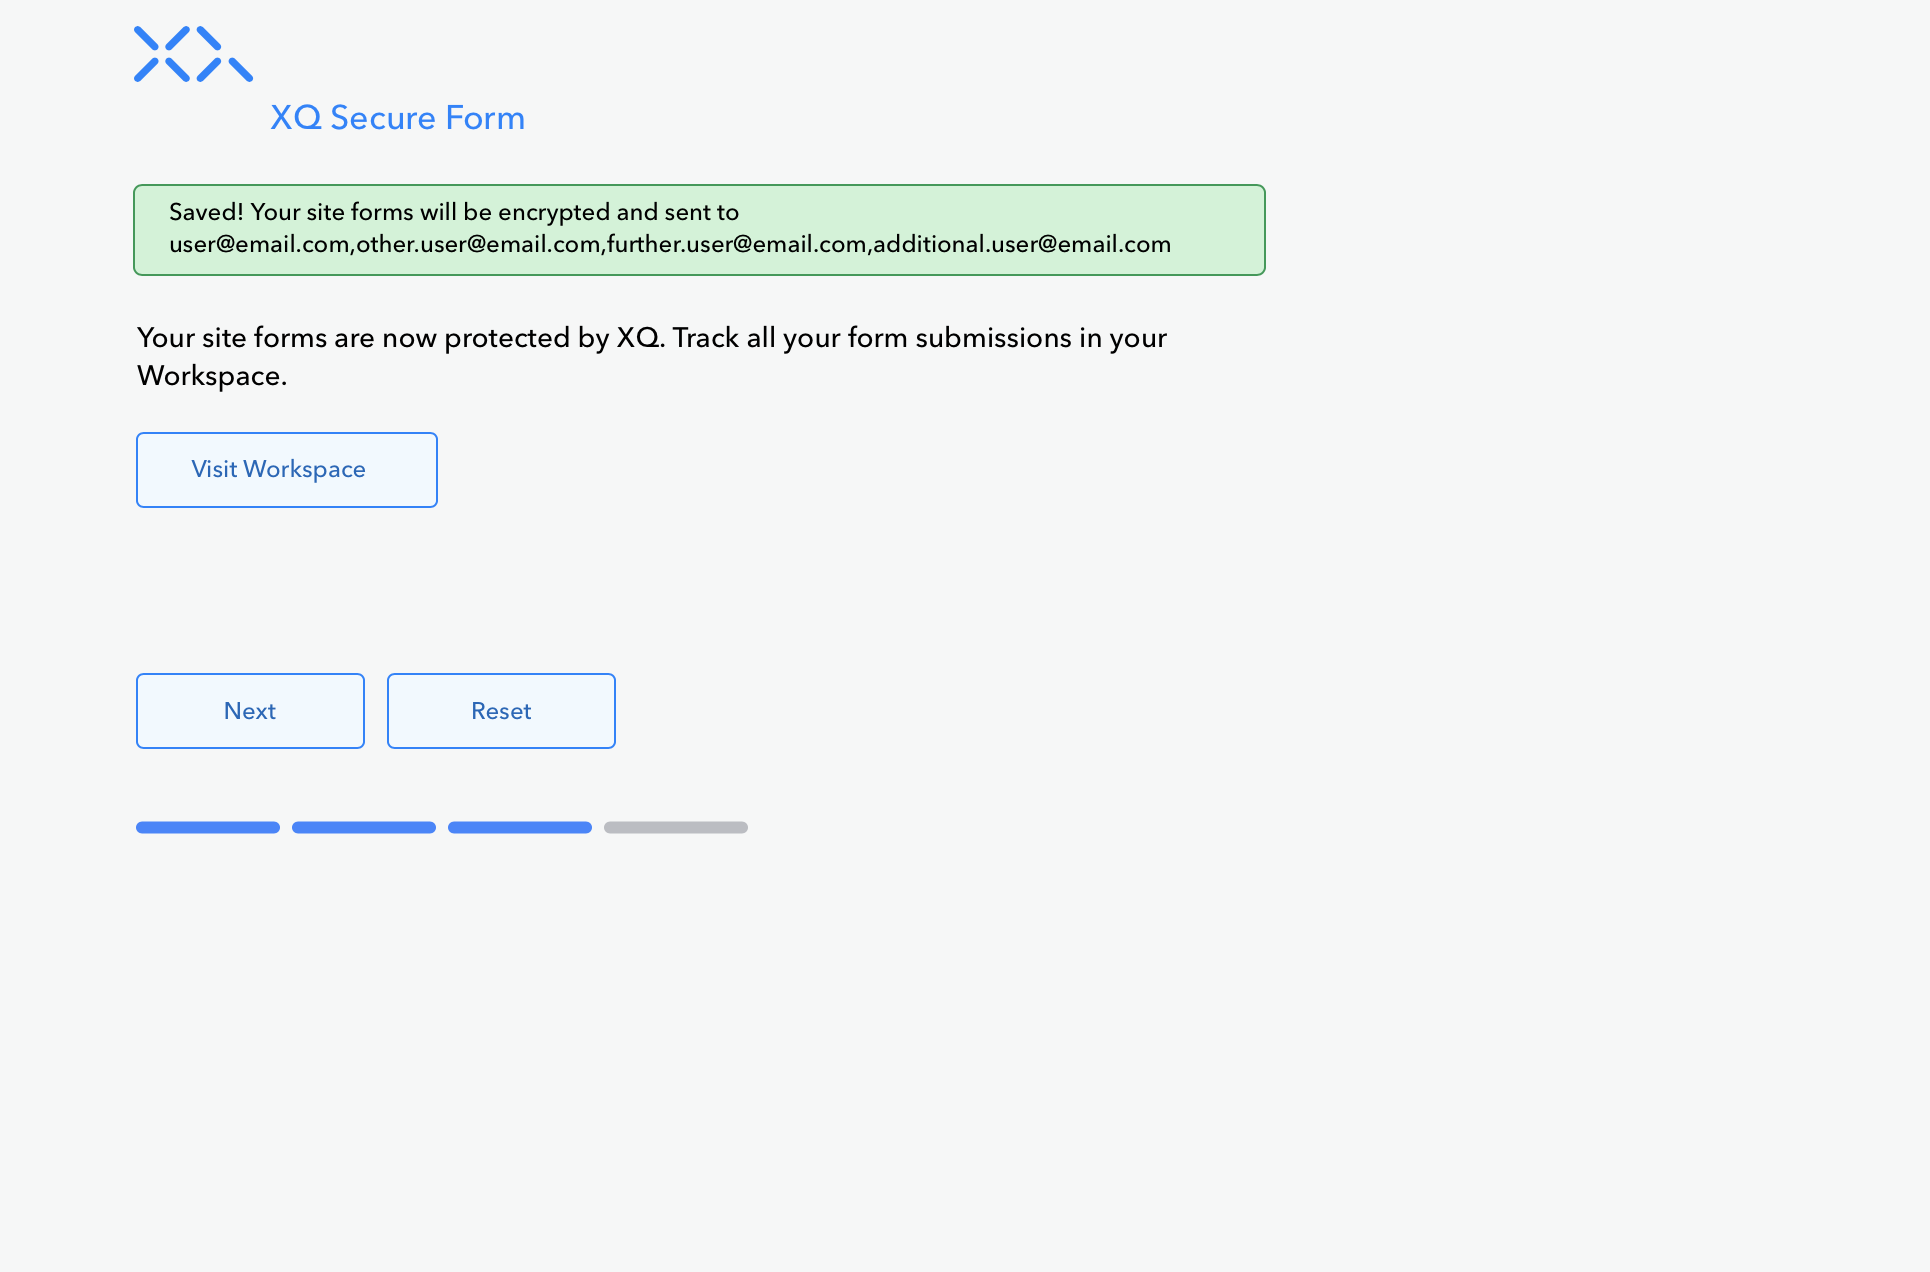
XQ works with your existing forms – no need to rebuild everything. XQ automatically finds the forms on your site, encrypts them, and sends you the submissions in email.
Secure Form submissions will decrypt with the click of a button. If you want to decrypt directly in your email, download one of our XQ Message email clients:
All non-commercial users get 1000 free submissions per month. If you love Secure Forms and are going over that limit, we’d love to talk to you! Please drop us a line.
XQ Message has a versatile toolkit of applications and services all centered around Zero Trust. Please visit our site to gain more insight into the comprehensive range of capabilities offered by XQ Message.
What do I need to do to use XQ Secure Form straight out of the box?
Just install the plugin and go through the set-up steps: confirm your account and add authorized recipients. We do the rest.
What do I do if I don’t want SecureForms data emailed to me?
If you want to integrate your Secure Form with an external system, you can follow the instructions here.
What if I need to remove an authorized user from the plugin?
To remove an authorized user, just return to the XQ Secure Forms page in your WordPress settings backend. From here, you can easily remove the authorized user so they will no longer receive the form data.
On The Client
First off, when going through the process of generating a plugin designed to communicate with your own endpoint make sure the following is true:
Let XQ send me Emails is unchecked
You selected one of the available output formats, i.e. either Text, Json, XML or CSV.
Upon submitting your secure form the plugin gets to work.
1) It will collect all form elements under the <form> tag, extract their names and values and create the payload,
a string of key value pairs.
2) A quantum key is generated and in order to encrypt that payload.
3) The key will be uploaded to our servers and token is generated.
The token will be neccessary later to download the encryption key.
4) The payload to be posted to the endpoint,
which you specified <form action="your-enpoint"> using the format:
1 Authorization
Before you can communicate with XQ you need to validate your identity using the email with which you registered at XQ Message during the plugin intallation process.
call Authorize() with <your-email>
2 Validation
An email containing a validation PIN will be sent to that account. Send that PIN back to us using the CodeValidator class.
call CodeValidator() with <pin-sent-to-your-email-account>
3 Decryption
Just pass payload, i.e the encrypted data and the token to the Decrypt( ) function and you are done.
“Why pass the token?” you may ask. This is needed to find your particular encyption key on our servers. Remember that this very token was returned on the client during the form submission process after successful upload of the encryption key to the server.
call Decrypt() with <token> and <data>
How do I find out more detail about the APIs ?
To learn more about the full power of our any of our APIs by clicking here